What Is A Clay Bar?
Detailing Clay Defined
A clay bar is a tool used in car detailing. It's a synthetic resin. The clay is designed to remove dirt and other particles from a vehicle’s paint and glass. To clarify, the clay bar is abrasive. So it shears away the particles. As the particles break away, the clay grabs and holds onto them.
Over time, the car collects pollutants and debris that washing alone won’t remove. A clay bar can removes things like:
* Brake Dust
* Road Tar
* Industrial Fallout
* Paint Overspray
* Rail Dust
* Embedded Dirt
Types Of Clay Bars
There are generally two grades of clay bars found on the market: fine and medium. The grade describes the bar’s aggressiveness. The fine is less abrasive and for light use. Whereas the medium is coarse and used for heavy de-contamination.
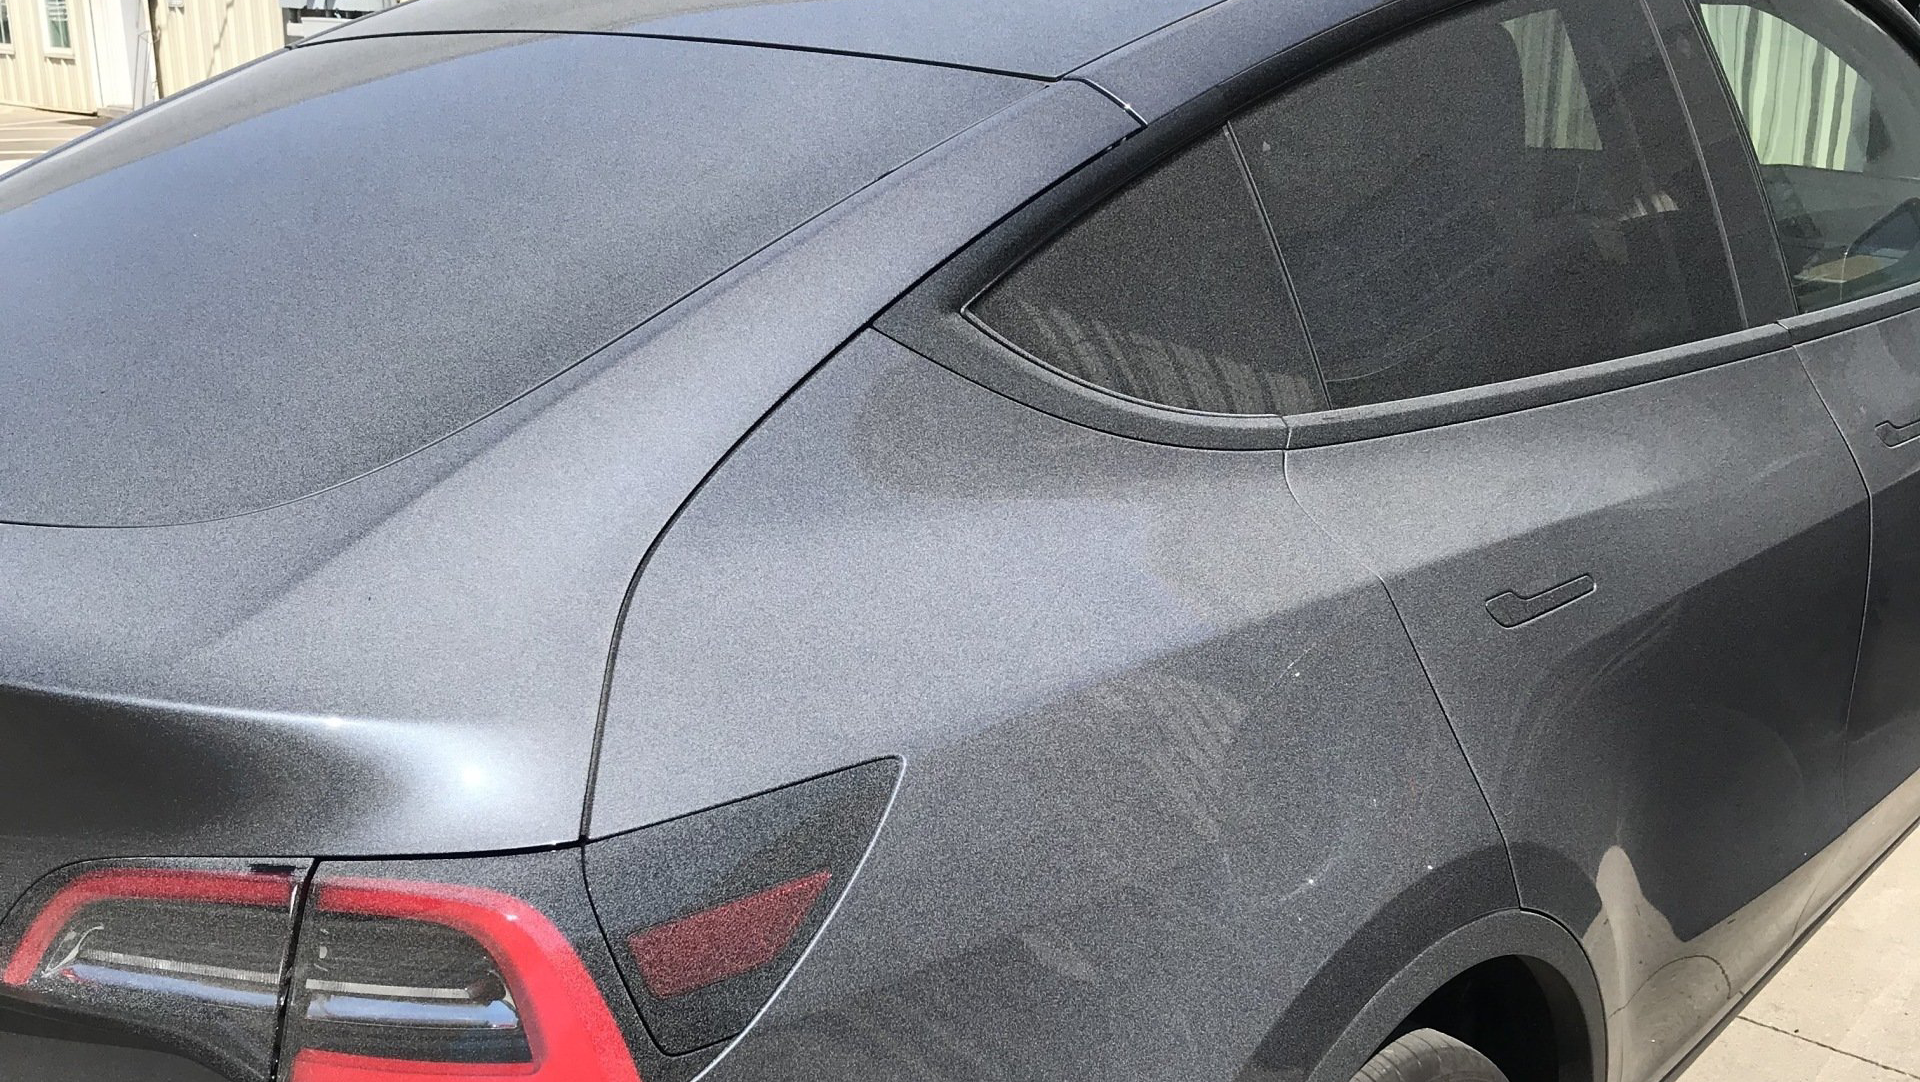
Is it Time for a Clay Bar?
Checking the paint before claying is important. In many cases, you don't see the contamination. A physical inspection lets you know the amount of build-up on the paint. After washing your car, place your hand inside a sandwich bag and rub over the paint. If there is a rough or gritty feel, it's time to clay the paint.
Using a Clay Bar (Step-by-Step)
Items Needed for Claying a Car:
* Clay Bar (fine or medium grade)
* Clay Lubricant or Quick Detail Spray
* Clean microfiber towels
* Sandwich Bag
Step-by-Step Instructions:
1. Wash the Car First
* Thoroughly wash and rinse your car to remove loose dirt, bugs and grime. Clean car as best as possible in the wash stage. Claying a dirty surface can scratch the paint.
2. Break Clay Bar into smaller pieces
* The clay can be broken into manageable sizes for your hand and preservation of the clay.
* Work the clay and shape it into a flat palm-size disc
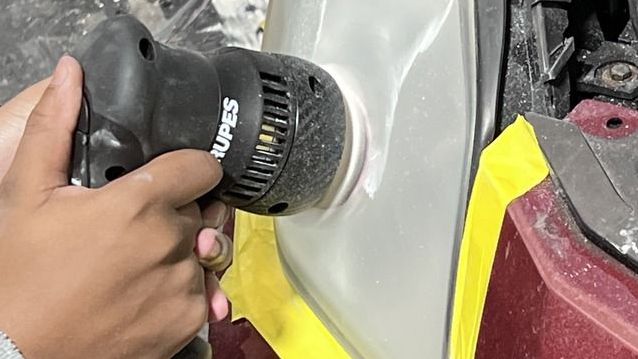
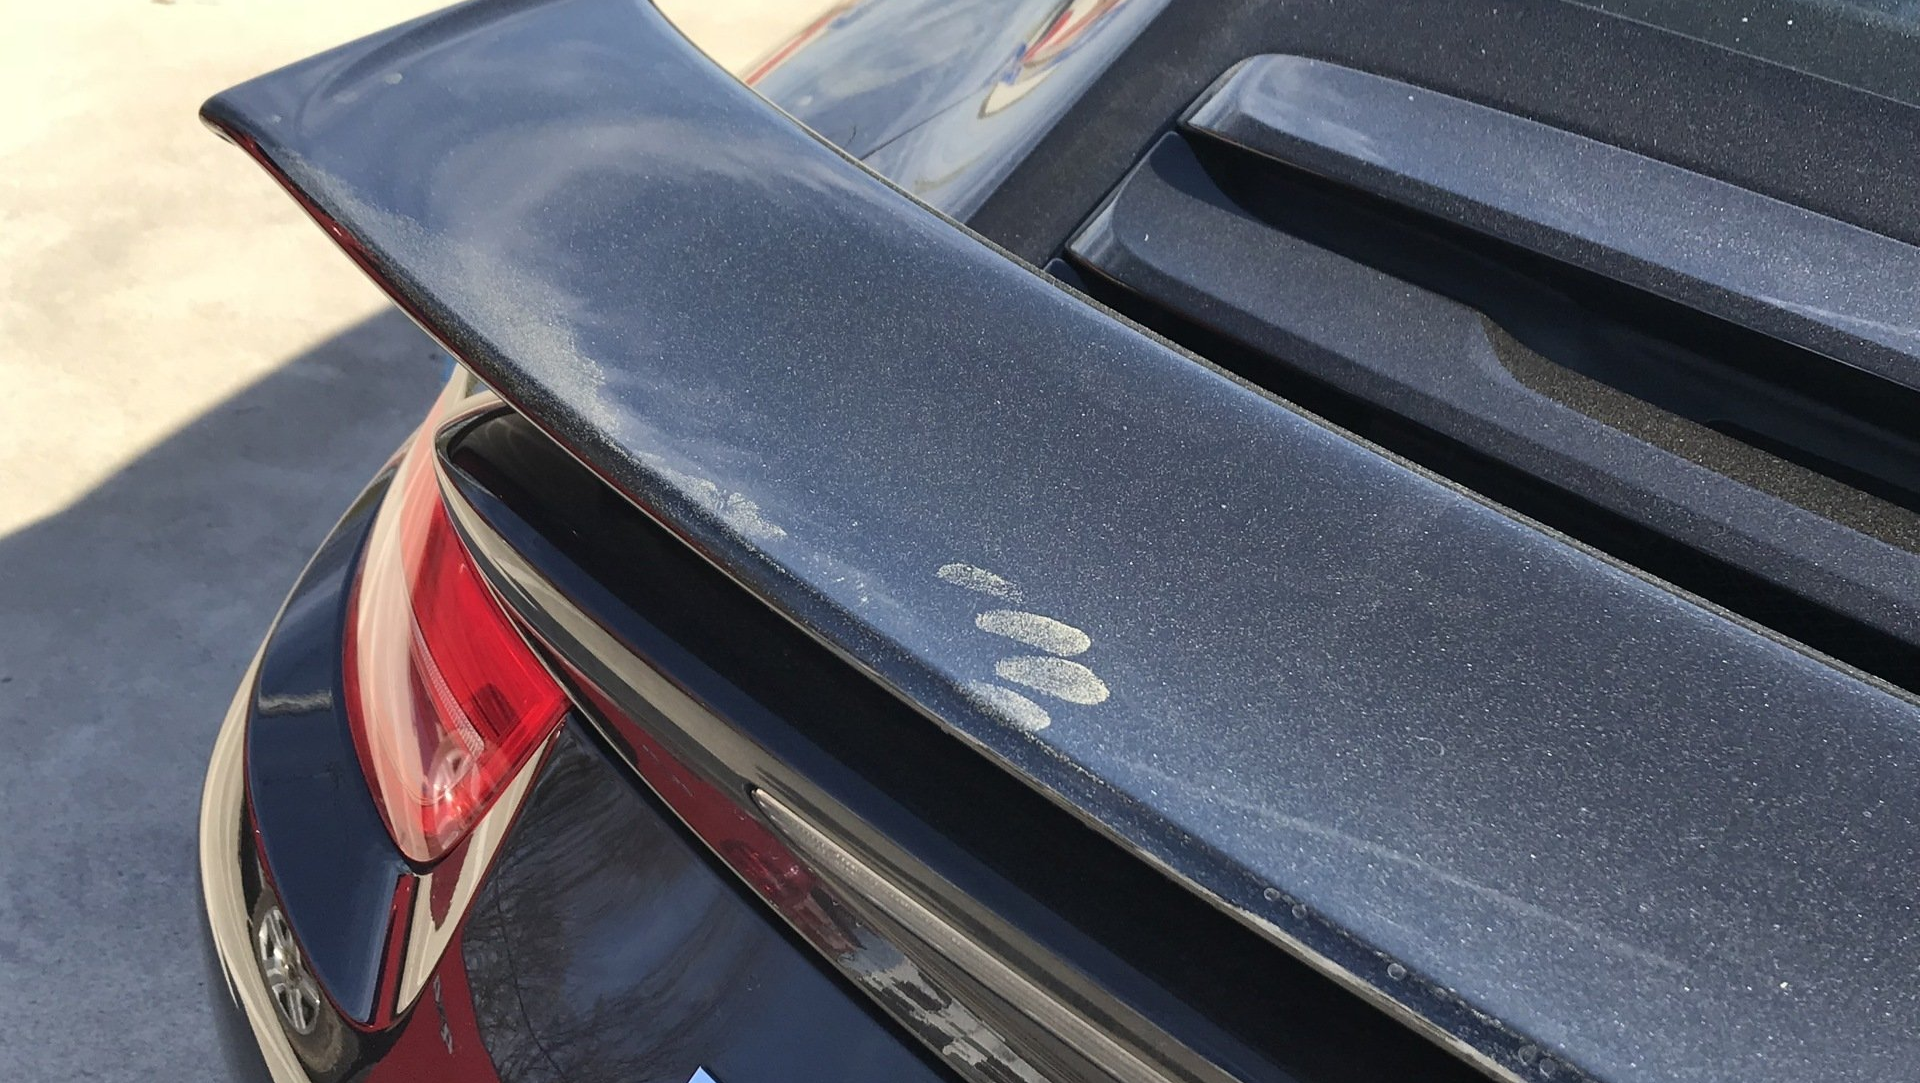
3. Spray Lubricant generously over a small area of the paint.
4. Gently Slide the Clay Over the Lubricated Area
* Rub back and forth in straight lines (with the air flow/not circles).
* The clay may grab, at first. Then it will loosen as it picks up contaminants.
* Once it slides smoothly, that area is clean.
Note:
For heavy contamination, multiple passes may be needed.
Wipe area and add fresh lubricated between passes.
5. Wipe away residue with a Clean Microfiber Towel
6. Check and Knead the Clay Often
After one or two sections or when the clay is visibly dirty, fold and knead it to expose a clean surface.
7. Repeat The Claying Process Over entire Vehicle
Upon completion, the vehicle’s surface is silky smooth and ready for paint correction or ceramic coating.
8. Protect or Polish the Paint
Depending on the goal, there will be one or two remaining steps: polish and/or protect. Protection is always the last step. However it can be preceded with polishing. After claying and/or paint correction, your car’s paint has no protection. It can be protected with a sealant or coating
Warnings
Always use a clay bar with lubricant. Otherwise you’ll scratch the paint. If the clay is dropped on the ground, you should throw it away immediately. It can pick up particles that will scratch your car. For delicate or soft paint, use a fine-grade clay.
Over time the clay bar will fill with dirt and contaminants. At that point, it should be replaced with a new one. The amount of cars that can be done is not a set number. The amount of contamination the bar removes determines its life span.
Using a clay bar is key to maintaining your car's appearance. Proper use will avoid damaging the paint. A clay bar is needed on a periodic basis: once of twice a year, depending on the car's environment. A rarely driven garage kept vehicle may go a long while before needing a
clay treatment versus a daily driver.
There are clay bar alternatives such as clay mitts and clay towels. We will delve into those tools in a future article.